Tecplot360
The Modules software package can dynamically switch and set the environment settings required to use the application by executing the module command. And you can change the environment settings easily when you switch to the different version of the application. Please refer to Modules for details.
You can check a list of available module files with the module avail command.
| Version | Module File Name | SystemA | System B/C/G | Cloud System |
|---|---|---|---|---|
| 2022 R2 (default) | tecplot360/2022R2 | - | KU | - |
| 2022 R1 | tecplot360/2022R1 | - | KU | - |
KU : Available for Kyoto University members only
- : Not available
The number of users available at the same time is three licenses.
Tecplot 360, a visualization tool for numerical simulation and CFD, allows you to easily and flexibly create plots and animations from various scientific and engineering data. Tecplot 360 automates routine tasks of data analysis and plotting to ease your work load and time cost with its various capabilities including analysis and search of complex data, creation of charts that combine plot types of XY, 2D, and 3D, exchange of research results, creation of high-resolution images.
Since Tecplot360 is a GUI application, it requires an X Window environment.
Login to the system using FastX, NICE DCV or using SSH client software that supports X11 Forwarding (e.g. MobaXterm) and X11 servers available on Windows, which can start GUI applications.
Execute the module command to set up the environment. (Load the version of the module file you want to use).
$ module load tecplot360It is possible to start a process on the computing node with the tssrun command and transfer only the GUI screen to the login node. Please refer to Interactive Processing for details on the tssrun command.
$ tssrun --x11 tec360Start directly on the node after logging in to the GPU-equipped application server, app.kudpc.kyoto-u.ac.jp. Pelase use NiceDCV if you want to use server-side rendering using a GPU on the server.
$ tec360If the start-up is successful, the following screen is displayed.
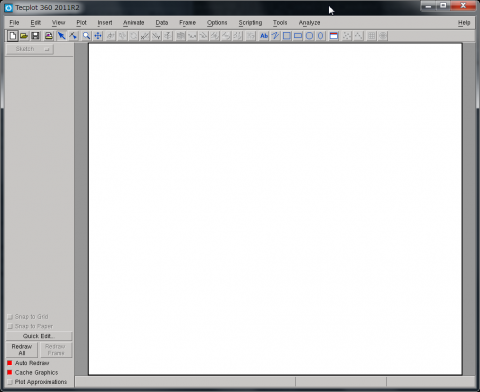
Click on 'Exit' in 'File' in the 'Menu bar' to exit the tecplot.
Tecplot outputs a temporary file during processing. By default, a directory named “tecplot_[USER NAME]” is generated in “/tmp”, and it includes the temporary file.
When dealing with a large-scale data of several tens GB or more, the default /tmp directory capacity may not be enough, and it may cause an abnormal termination. Thus, a storage that has enough space such as the LARGE disk space must be specified.
You can change the saving location of the temporary file to the LARGE disk space by using the following commands.
$ setenv TMPDIR /LARGE0/gr19999/b59999$ export TMPDIR=/LARGE0/gr19999/b59999If the following errors occur, tecplot sometimes works normally by using -mesa option on startup.
- Tecplot does not start up. (The prompt says “Failed to create OpenGL Context.”)
- The error occurs when exporting to TIFF or BMP.
The -mesa option emulates the features of OpenGL graphics library through the software. Thus, it decreases the rendering speed a little.
If the transparency display of exported images is not correct, it may work correctly if the settings are changed according to the following procedure.
- Select Options => Performance in the top menu to open the settings screen.
- Change Image Export Options to 'Fast'.
- OK button to reflect changes.